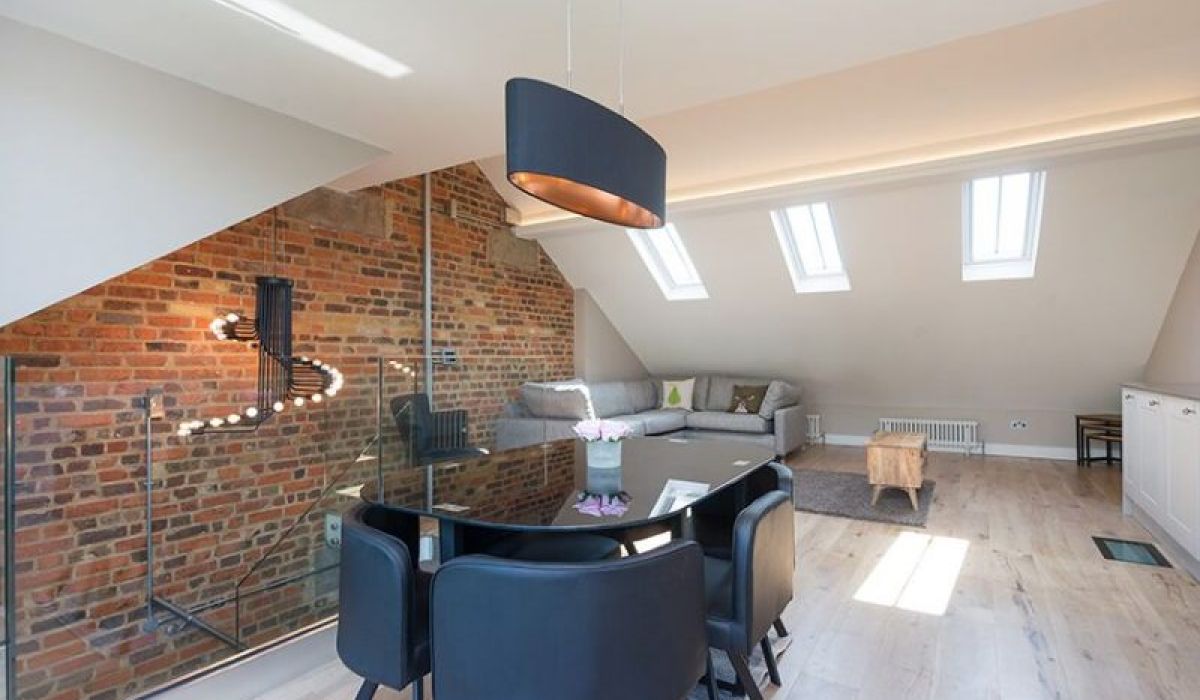
Loft Conversion: A Beginner’s Guide
There are a lot of seemingly complicated steps to getting your loft converted, so knowing where to start can feel daunting, but speaking to a professional architect can help! Fear not as we are here to help make the process feel easier to manage. In this guide, we’ll explain the key stages of a loft conversion and tell what you need to consider each step of the way.
Can my loft be converted?
Before you do anything, you must make sure that your house is actually suitable for a loft conversion. Most homes come with Permitted Development requirements, which give the owner a guideline of what they can and can’t do. If you are looking to go exceed the Permitted Development that is placed on the property you will need to get further information from your council or seek help from an architect. Before you go asking around, there are few checks you can make yourself. You can also check out this helpful guide on loft conversions.
Do I need Building Regulation approval?
Building regulations approval is required to convert a loft or attic into a livable space.
What type of loft conversion should I go for?
There isn’t just one type of loft conversion as you have probably gathered. There are four main types of loft conversion: roof light, dormer, hip-to-gable and mansard. The one you choose is likely to be determined by a number of factors, including the type and age of house you live in, and your budget. Flick through our gallery below to see examples of each type, and read on for more details on how they work, what types of houses they would suit and how costly they are.
- Roof light conversions
A roof light conversion is when you build within the existing roof line of a property, so you don’t extend the space externally at all. - Dormers
The most commonly fitted loft conversion is in the style of a dormer loft conversion.These are the most popular for several reasons, one being that the conversion is simply an extension of the existing roof. They also create much more additional floor and headspace within the newly converted room, generally becoming the largest room within your home. - Hip-to-gable
A hip to gable loft conversion is a popular option for many semi-detached or detached properties with a hipped roof, which is essentially a roof with a sloping side in addition to the slopes at the front and back. - Mansard
Mansard loft conversions can often give the biggest results in terms of additional living space, although they generally also involve the most construction work. However, as with all London loft conversions, they are more affordable and less stressful than moving house.
Take a look at these popular loft conversion ideas.
Look around your street
If there are one or more loft conversions that have been carried out on your street, it’s most likely that you will be able to do something similar. It may be worthwhile asking a neighbour to have a look at their’s to see what can be possible for your home.
Check what type of roof do you have
Some roof shapes and forms lend themselves more readily to conversion than others. The key factors to assess are the roof shape, its internal height and width and the pitch, or angle of the roof.
Measurements
When assessing the potential of your loft for conversion, measure the space where there is a clear headroom of 2.0-2.1m or more between the joists and rafters. Once the floor has been built up and the roof insulated, this will leave you with around 1.9-2.0m of headroom, which is the minimum practical ceiling height.
The floor below
When planning a loft conversion, it may be worth having a plan of what changes are likely to be made the floor below. Have a look to see where the stairs could be placed. Even a well-designed staircase can take up a lot of space, so make sure you’re prepared to lose whichever part of the room below.


